


Best Photo Resolution for Printing Perfect Images
When it comes to printing your favorite photos, there's one magic number you need to remember: 300 dots per inch (DPI). This is the industry gold standard, the secret sauce for getting sharp, professional-quality prints where every detail pops and the colors look just as vibrant as they did on your screen.
Your Quick Guide to Perfect Print Resolution
Have you ever picked the perfect photo, sent it off to be printed, and gotten a blurry, pixelated mess in return? It’s a frustratingly common problem, but it’s also completely avoidable. The key to a beautiful print isn’t just a great picture—it’s a picture with the right resolution.
Think of resolution as the building blocks of your image. More blocks (or pixels) packed into a small space create a much sharper, more detailed picture. For printing, 300 DPI is the magic number that defines high quality, and this guide will demystify what that means for you.
The Gold Standard of Printing
For decades, 300 DPI has been the benchmark for high-quality printing. It's the point where the dots of ink are so close together that the human eye sees a smooth, continuous image. This isn't a new concept—it's been the standard since the 1990s, ensuring that printed photos look crisp when viewed from a normal distance.
This rule applies to everything from a small 4x6 photo to a large, cozy Custom Photo Blanket, which makes an incredible, heartfelt gift for Mother's Day. Understanding resolution is the first step toward creating a gift that will truly be cherished.
Key Takeaway: Always check your photo's pixel dimensions before printing anything. A higher pixel count gives you the flexibility to print larger, clearer images. It’s the single best way to guarantee your cherished memories are preserved beautifully.
To see just how this works for creating the perfect keepsake, check out our guide on making a custom photo blanket.
Pixels vs. Dots: What’s the Real Deal with Print Quality?
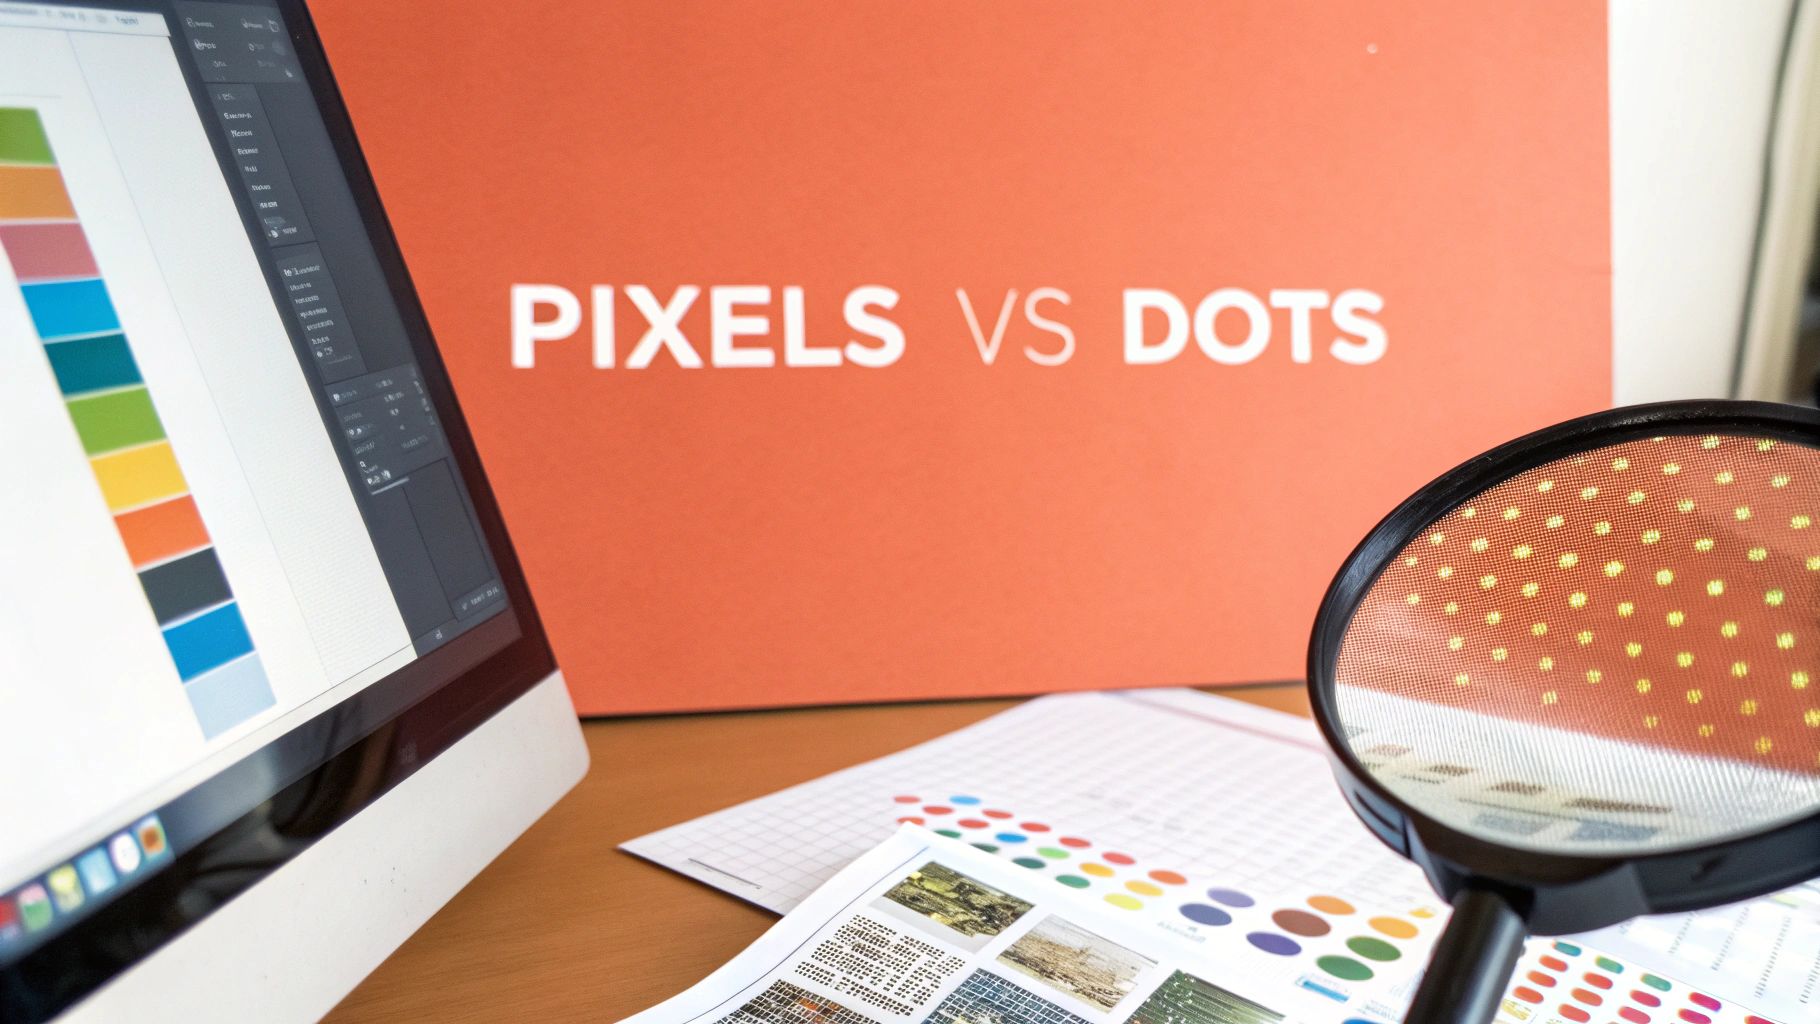
To get the perfect photo print, we first need to clear up two terms that get thrown around and mixed up all the time: Pixels Per Inch (PPI) and Dots Per Inch (DPI).
They might sound like the same thing, but one belongs to the digital world of your screen, and the other belongs to the physical world of printing. Getting this one difference right is the secret to making sure that gorgeous photo on your phone looks just as stunning when it’s printed on a blanket.
Think of PPI as the building blocks of your digital photo. Every image on your phone or computer is made of thousands of tiny colored squares called pixels. PPI is just a measure of how many of those little squares are packed into one inch of your screen. More pixels crammed into that inch means a sharper, clearer image on your device.
From Your Screen to the Real World
The moment you decide to print, the game changes. We're no longer talking about pixels; we're talking about ink. Your printer doesn't see squares of light—it lays down tiny dots of ink to recreate your image on a physical surface.
This is where DPI comes in. It measures the density of those ink dots. The more dots a printer can squeeze into a single inch, the smoother and more lifelike the final print will look.
It’s a bit like building a mosaic. Your PPI is the total number of colored tiles you have to work with. Your DPI is how closely you place those tiles together on the wall. You need plenty of tiles (a high PPI) to start, but packing them in tightly (a high DPI) is what makes the final picture look seamless and incredible.
For a stunning finished product, especially for detailed gifts like Custom Photo Blankets, your original digital file must have enough pixels to support a high-DPI print. A low-pixel image simply doesn’t have enough information to create a sharp print, no matter how good the printer is.
Why DPI Is King for Printing
At the end of the day, it's the printer that calls the shots on DPI. A basic home printer might work at 150 DPI, which is perfectly fine for text documents. But professional photo printers aim for 300 DPI or higher.
If you really want to get this right, it helps to dig into the details. This guide on understanding 300 DPI resolution for printing is a great place to start. At 300 DPI, the ink dots are so small and close together that our eyes can't see them individually. Instead, we just see a crisp, continuous, and vibrant image—exactly what you want for your cherished photos.
How to Check and Adjust Your Photo Resolution
Alright, now that you’ve got the difference between digital pixels and printed dots down, it’s time to actually use that knowledge. Checking your photo's resolution is a super simple but critical step to make sure your print comes out looking sharp. The best part? You don't need any fancy software—the tools are already on your computer.
This quick check is your secret weapon. It tells you exactly how large you can print your image while keeping that crisp, clear quality we all want. Think of it as the final inspection before turning a digital memory into a physical keepsake, like a cozy Custom Photo Blanket—the perfect gift to show Mom how much you care this Mother's Day.
Finding Your Photo's Dimensions
First things first, you need to find out your photo's pixel dimensions. This number is the true measure of how much detail is packed into your image.
- On Windows: Just right-click the image file, choose "Properties," and then head to the "Details" tab. You’ll see the dimensions listed in pixels (like 4000 x 3000).
- On a Mac: Open your image in Preview, go to the "Tools" menu, and select "Show Inspector." The pixel dimensions will be right there under "Image Size."
Once you have those numbers, you can do some quick math to figure out the largest high-quality print you can get. Just divide each dimension by 300 (for our target of 300 DPI) to get the maximum print size in inches. So, a 4000 x 3000 pixel photo can be printed up to a beautiful 13.3 x 10 inches.
The Critical Difference: Resizing vs. Resampling
When you start looking into adjusting your image, you'll run into two terms that sound almost the same: resizing and resampling. They do very different things, and picking the wrong one can completely wreck your print quality.
Resizing an image just changes its print dimensions without actually touching the total number of pixels. Imagine you have a mosaic—resizing is like stretching or shrinking it. The number of tiles stays the same, but they’re either spread further apart (which lowers the DPI) or packed closer together (which raises the DPI). This is totally safe for your image quality.
Resampling, on the other hand, changes the actual number of pixels in the file. If you "downsample," you're throwing pixels away to make the file smaller. If you "upsample," the software is trying to add new pixels by guessing what should go there. Upsampling is a huge gamble because the computer is literally inventing detail that doesn't exist, which almost always leads to a soft, blurry, or artificial-looking print.
To get a better feel for how your image will translate to a finished product, you can check out our specific photo requirements to make sure your file is ready to go.
If you need to make adjustments, using an online image resizer tool can make things much simpler. These tools are helpful, but always be careful not to upsample too much. When it comes to print, it's always best to start with the highest-resolution photo you can find.
Finding the Right Resolution for Custom Photo Blankets
When you're printing a photo on paper, the rules can be pretty strict. But a Custom Photo Blanket? That’s a whole different canvas. Because blankets are soft, textured, and usually seen from a little ways away, you’ve actually got a lot more wiggle room with the best photo resolution for printing. And that's fantastic news—it means more of your favorite photos have the potential to become a cozy, unforgettable gift.
The secret really comes down to viewing distance. You might lean in to inspect a small 4x6 print, but you’ll probably be admiring a big, soft blanket from across the room or while snuggled up on the sofa. That extra distance makes our eyes much more forgiving, so a resolution of 150-200 DPI looks absolutely stunning on fabric. You won't notice any loss of detail, making these blankets a perfect way to give a gift of warm memories for Mother's Day.
Recommended Pixel Dimensions for Custom Photo Blankets
To take the guesswork out of it, let’s talk about what this means in terms of actual pixel dimensions. Having enough pixels from the start is what gives your image the raw data it needs to be scaled up into a beautiful, large-format print without looking stretched or blurry.
Here’s a quick guide to the ideal minimum pixel counts for some of our most popular blanket sizes. Hitting these numbers will help ensure your final product is something you'll be proud to gift or display.
| Blanket Size (Inches) | Ideal Minimum Pixels (Width x Height) |
|---|---|
| Throw Blanket (50" x 60") | 5000 x 6000 pixels |
| Twin Blanket (60" x 80") | 6000 x 8000 pixels |
| Queen Blanket (90" x 90") | 9000 x 9000 pixels |
Following these simple guidelines helps guarantee your blanket will have that crisp, clear look you’re hoping for.
If you’re a visual person, this handy infographic breaks down how to check if your photo is ready for printing.
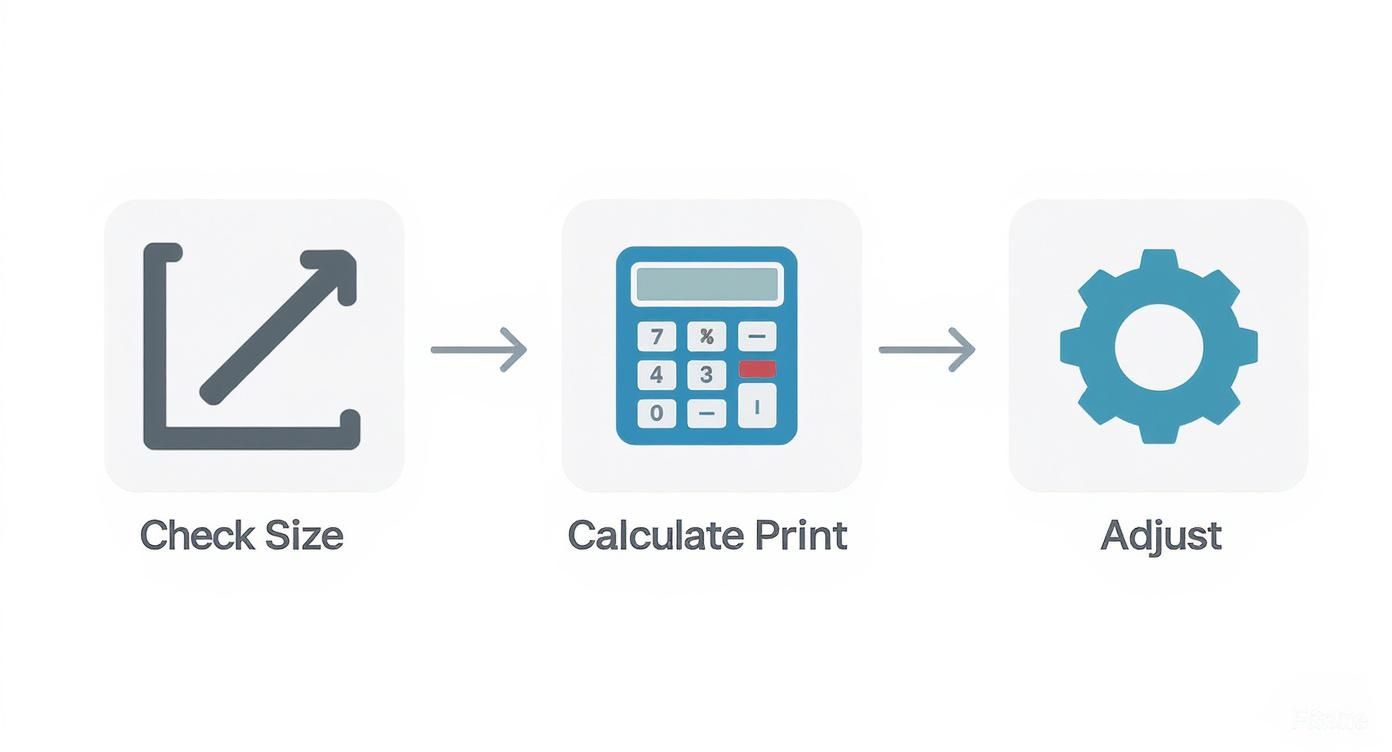
It walks you right through checking your blanket size, figuring out the pixels you need, and making any necessary adjustments to get that perfect print.
A great photo for a blanket isn’t just about pixels—it's also about content. Images with clear subjects, good lighting, and vibrant colors translate exceptionally well to fabric. A well-lit portrait or a bright landscape will always make a more impactful and emotionally resonant gift.
Choosing the Perfect Photo for Fabric
While the technical specs are definitely important, don't forget that the artistic quality of your photo matters just as much. A high-resolution photo that’s poorly lit or out of focus just isn't going to look great on a blanket.
Try to pick images where the main subjects are sharp and there's good contrast between them and the background. These are the kinds of details that really help an image pop on the soft, textured surface of a blanket.
For more tips on getting every detail just right, you can learn more about how to make a photo blanket and make sure your final product is something to treasure. A little prep work goes a long way in creating a gift that’s truly unforgettable.
Common Resolution Mistakes and How to Avoid Them
Getting the resolution right is a huge step, but a few common slip-ups can still sink your print. Understanding these frequent pitfalls is the key to making sure your final blanket—or any special gift—looks just as amazing as you imagined it.
One of the biggest culprits is using photos pulled directly from social media or text messages. To load quickly, these platforms squash your photos, stripping out most of the original pixel data. What looks perfectly fine on a tiny phone screen will become a blurry, pixelated mess when blown up for printing.
The same goes for screenshots. While they’re handy, a screenshot only captures the pixels your screen is showing, which is nowhere near enough for a quality print. Your best bet is to always track down the original, high-resolution file from the camera or phone it was taken on.
The Dangers of Cropping and Enlarging
Aggressive cropping is another quality killer. When you crop a photo, you're literally throwing pixels away for good. Trying to print a tiny, cropped section of a larger image is like trying to make a king-size quilt from a single fabric square—you’re stretching the material way too thin, and all the detail gets lost.
Trying to digitally enlarge a small, low-res photo is just as bad. This process, called "upsampling," forces the software to guess which pixels to add to fill the empty space. You almost always end up with a soft, fuzzy image that lacks the crisp details of a true high-resolution photo. It's always better to start with a picture that's already big enough for your print.
Pro Tip: Never trust what you see on your screen as the final judge of print quality. Screens use light to display images, which can hide a lot of flaws. The only way to know for sure if your photo is print-ready is to check its pixel dimensions.
From Film to Pixels
The move from film to digital photography completely changed how we think about print quality. By the early 2000s, digital cameras were finally starting to match the incredible detail of traditional 35mm film.
Today, a standard 12-megapixel image has more than enough data to create a beautiful 8x10 inch print at 300 DPI. And since most modern smartphones shoot at even higher resolutions, you have plenty of pixels to work with for professional-quality prints. You can learn more about how much photography has evolved over on Tamino Autographs.
By sidestepping these simple mistakes, you'll save yourself time, money, and the frustration of a disappointing print. This is especially important when you’re creating a meaningful gift like a Custom Photo Blanket, where the whole point is to preserve a cherished memory for Mother's Day in the best quality possible. Starting with a great source file is the surest path to a perfect result.
Got Questions About Print Resolution? We’ve Got Answers.
Even after you've got the basics down, a few questions always seem to pop up right when you’re ready to bring your photos to life. Let's clear up those last-minute uncertainties so you can move forward with total confidence. Think of this as your final check-in before turning a digital memory into a cherished keepsake.
We’ll tackle some of the most common real-world scenarios you’ll run into. This will help you make the best call for any project, whether it's a small photo or a big, cozy Custom Photo Blanket—which, by the way, make incredible gifts for moms, grandmas, and all the amazing women in your life.
Can I Actually Use a Photo from My Phone for a Large Print?
Absolutely! Modern smartphones pack some seriously impressive camera technology, often capturing images well over 12 megapixels. That’s more than enough digital information to create a stunning, large-format print, even for a queen-sized blanket.
The real key isn’t where the photo came from, but its original, untouched quality. As long as you’re using the original file—not a version that’s been squashed down by text messages or social media—your phone photo can look spectacular. Always make sure to transfer the full-resolution file directly from your device to preserve every last pixel.
What’s the Deal with 72 DPI? And Why Should I Ignore It for Printing?
You’ll see 72 DPI pop up all the time when talking about images for the web. It became the standard for older computer monitors because it keeps file sizes small, helping websites load quickly. It has just enough data to look sharp on a screen.
But for printing? 72 DPI is nowhere near enough. It simply doesn’t contain the pixel information needed to create a smooth, detailed physical image. A photo that looks perfectly fine on your monitor at 72 DPI will almost always come out looking blurry and pixelated on paper or fabric. For physical products, you should always be aiming for 150-300 DPI to get the best photo resolution for printing.
Think of it like building a mosaic. 72 DPI gives you just enough big tiles to make out the picture from across the room. But 300 DPI gives you all the tiny, detailed tiles you need to create a true masterpiece that looks amazing up close.
Does the Printing Surface—Like Paper or Fabric—Change My Resolution Needs?
Yes, it makes a huge difference! A glossy photo paper, for instance, is designed to show every single detail. That’s why hitting that 300 DPI standard is so important for sharp, crisp results. The smooth, reflective surface is unforgiving and will call out any fuzziness from a low-resolution file.
On the other hand, materials with more texture, like canvas or the soft fabric of a Custom Photo Blanket, are much more forgiving. The weave of the material naturally softens the image a bit, which means a resolution around 150-200 DPI will still produce a beautiful, high-quality result. This flexibility is great because it makes it easier to turn more of your favorite photos into heartwarming gifts for Mother's Day.
So, Is a Bigger File Size Always Better?
Not necessarily. While a larger file size (measured in megabytes, or MB) often points to a higher resolution, it’s not a guarantee of quality. It’s possible to artificially enlarge a small photo, a process called upsampling. This increases the file size, but it doesn't add any real detail—it just makes the existing pixels bigger, which results in a blurry mess.
The number you should really care about is the pixel dimensions (like 4000 x 6000 pixels), not the file size in MB. A sharp, clear photo with the right dimensions will always beat a blurry, artificially inflated file. Focus on the original quality of your image first, and you'll ensure every gift you create is a true reflection of the beautiful memory it holds.
Ready to turn your cherished memories into a warm, cozy keepsake? At That Blanket Co, we make it easy to create beautiful, high-quality custom photo blankets that will be treasured for years.