


How to Create a Photo Collage That Tells a Story
Ready to turn your favorite photos into a story you can wrap up in? The real secret to a beautiful photo collage isn't just arranging pictures—it’s about telling a story. Whether you're capturing a year's worth of memories or designing a heartfelt holiday gift, a little planning can transform your digital files into a true work of art.
Your Guide to Crafting the Perfect Photo Collage

Making a photo collage is a lot like putting together a visual narrative. It’s your chance to gather all those scattered moments—a family vacation, a child's big milestones, or a bunch of candid shots with friends—and weave them into one impactful piece. This is more than just a craft project; it’s a way to freeze time and celebrate the connections that matter most, especially for Mother's Day gifting.
This guide is your complete roadmap, designed to make the whole process simple and rewarding. We're going to move way beyond just dragging and dropping images into a generic template. Instead, you'll learn how to think like a curator, picking photos that work together to amplify your theme.
What You Will Learn in This Guide
Forget feeling overwhelmed by complicated software or endless design choices. We'll break down the entire creative journey into manageable steps, so you feel confident and in control from start to finish. You'll discover how to:
- Select the right photos that tell a cohesive and compelling story.
- Choose intuitive tools that match your skill level and creative goals.
- Design a stunning layout with balance, flow, and visual appeal.
- Prepare your final creation for flawless, professional-quality printing.
Think of your collage as a recipe. Each photo is an ingredient, and the way you combine them determines the final flavor. The goal is to create a dish that's not only delicious to look at but also rich with personal meaning.
Ultimately, we’ll show you how to take your finished design and turn it into a tangible keepsake. Just imagine your carefully crafted collage printed on a soft, warm Custom Photo Blanket—a perfect personalized gift for celebrations like Mother's Day or for cozying up during the holidays.
By the end of this guide, you won't just know how to create a photo collage; you'll know how to create a cherished memory.
Gathering and Curating Your Photos
The heart of every great photo collage lies in the images you choose. Think of yourself as a storyteller or the curator of your very own gallery. Before you even touch a design tool, the first and most crucial step is to gather photos that work together to tell a story.
Every memorable collage starts with a theme. This central idea acts as your creative compass, guiding every decision you make and ensuring your final piece feels intentional. Without a theme, a collage can quickly become a random jumble of pictures. With one, it becomes a thoughtful narrative.
Finding Your Central Theme
What story are you trying to tell? Figuring out a theme is usually easier than it sounds. Just think about the occasion or the person you're creating the collage for. This focus will make sifting through potentially thousands of photos feel a whole lot less overwhelming.
Some popular themes include:
- A Year in Review: A collection of your favorite moments from the last 12 months, perfect for a New Year's or anniversary gift.
- Baby's First Year: Chronicle all those precious milestones, from their first smile to their first wobbly steps.
- Family Vacation: Capture the spirit of a memorable trip with a mix of portraits, landscapes, and candid shots.
- Mother's Day Memories: A collage celebrating all the special moments with Mom is a wonderful gift idea for April and May. A Custom Photo Blanket featuring these memories is an incredibly heartfelt way to show your love.
- Generations of Love: A tribute collage combining old and new photos, which is always a hit for a grandparent's birthday or Mother's Day.
Once you have your theme locked in, the fun part begins. It’s time to dive into your camera roll, old albums, and social media feeds to start pulling out images that fit your story.
Selecting Photos for Impact
Okay, you've got a folder full of potential images. Now it's time to get selective. The goal is to pick photos that not only fit your theme but also look great together. A balanced mix is the secret to an engaging design.
"A well-curated collection tells a story with more than just faces. It’s about capturing the small details, the sweeping landscapes, and the unposed moments that bring a memory to life."
Look for a variety of shot types to create some visual energy. You want a good mix of portraits, group shots, candid action moments, and even scenic or detail shots that add context and atmosphere. For example, a wedding collage feels so much richer when it includes not just the posed portraits but also a close-up of the rings or a wide shot of the venue. You can explore more ideas for showcasing these special moments in our guide on how to display wedding photos.
Finally, pay close attention to the technical quality of your photos. Always, always choose the highest resolution images you can find. Photos pulled from social media are often compressed and can look blurry or pixelated when you go to print. To get that crisp, beautiful result that does your memories justice, stick with the original files from your camera or phone.
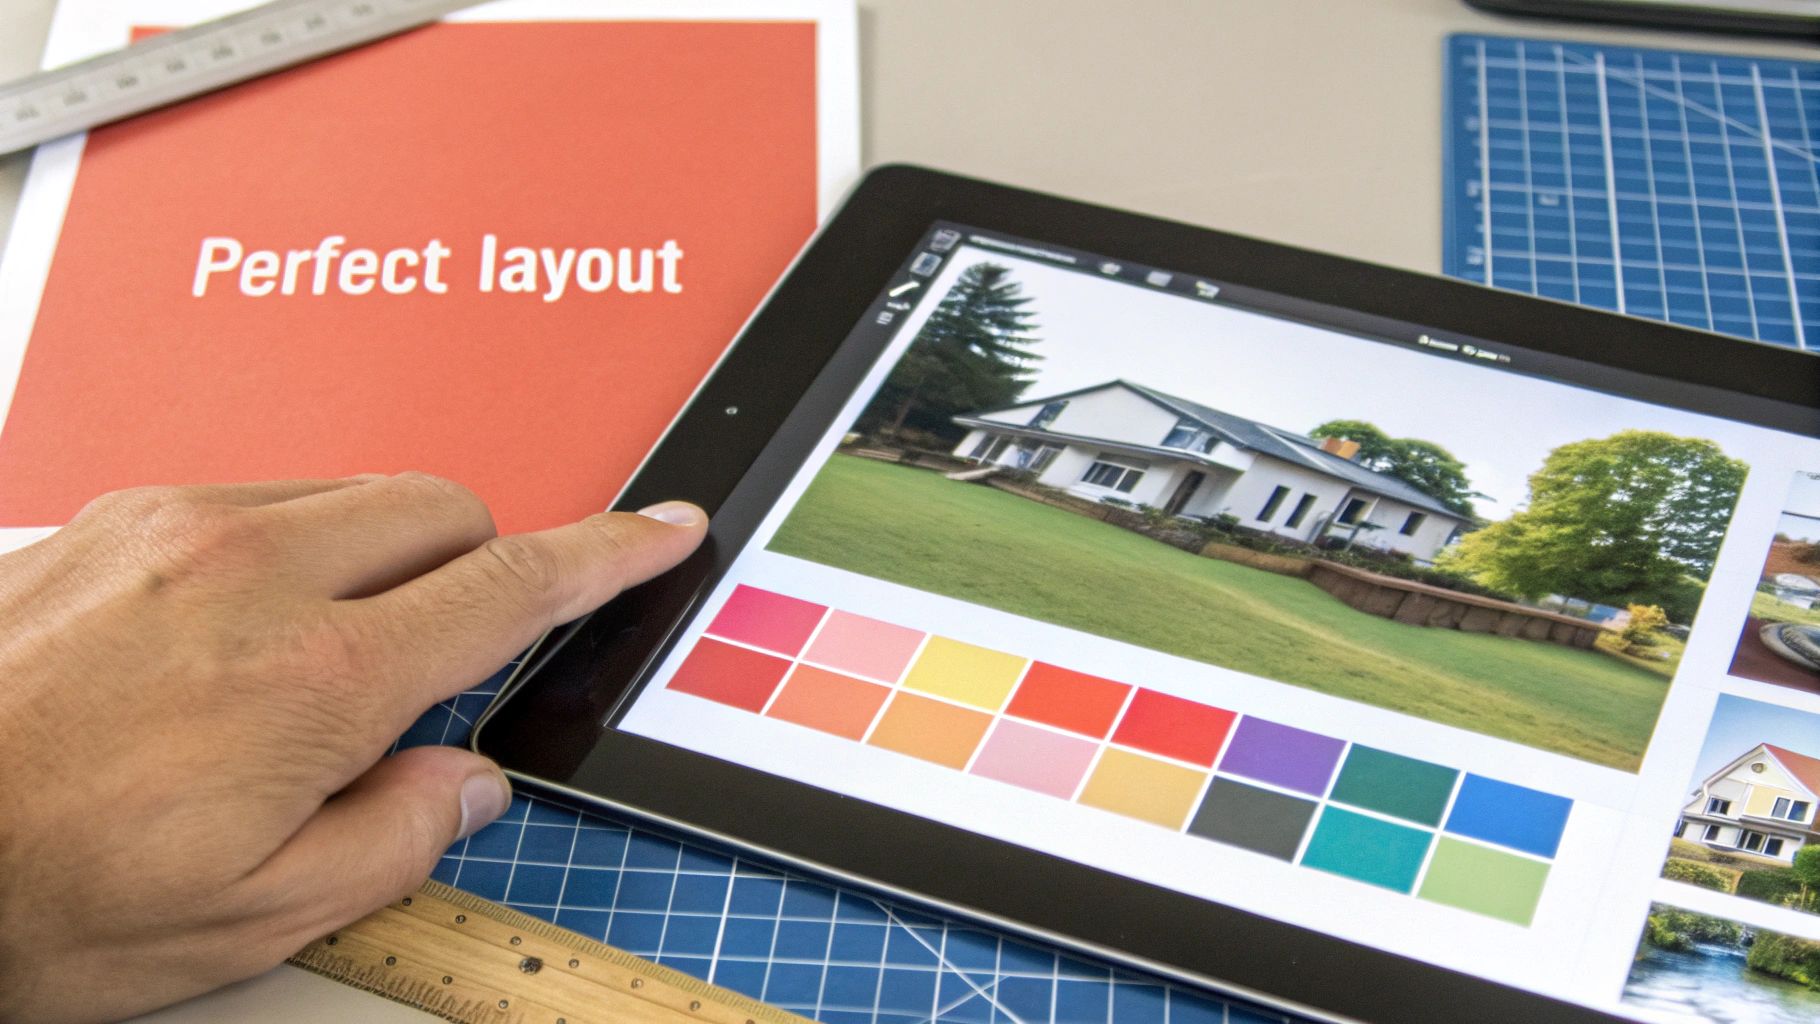
Choosing the Right Collage Creation Tool
With your favorite photos gathered, it's time to pick your digital canvas. Choosing the right tool is a lot like picking the perfect paintbrush—it should match your skill level and creative vision, making the process feel fun and intuitive, not frustrating.
Today’s technology gives you a ton of options, from simple mobile apps to powerful desktop software. Your choice will shape how you assemble your memories, whether you prefer the ease of pre-made templates or the total freedom of a blank slate. The goal is to find something that empowers you without feeling overwhelming.
Creating photo collages has become a go-to for unique gifts, especially for Mother's Day. Global interest often spikes around April and May as people look for one-of-a-kind presents. If you're curious about this trend and how seasonal demand shifts, you can discover more insights on Accio.com.
Navigating Different Tool Types
Not all collage makers are created equal. They generally fall into three main categories, each with its own strengths. Understanding the differences will help you pick the one that’s just right for your project.
- Mobile Apps: Perfect for quick, on-the-go creations you can make right from your phone. They're incredibly convenient and usually packed with trendy templates, fun filters, and easy sharing options for social media.
- Online Collage Makers: These web-based platforms strike a great balance between simplicity and features. They don't require any software installation and offer a huge library of layouts and backgrounds, making them ideal for beginners.
- Desktop Software: For those who crave maximum creative control, dedicated desktop programs like Adobe Photoshop are the way to go. They offer advanced features like layer editing, precise alignment tools, and high-resolution export options, which are essential for professional-quality prints.
This diagram breaks down the core principles of photo selection: start with a theme, then focus on high-resolution images and meaningful moments.
Ultimately, your choice of photos and your creation tool work hand-in-hand to bring your beautiful vision to life.
To make the choice clearer, here’s a quick comparison of the different tool types you'll encounter.
Comparing Collage Creation Tool Types
| Tool Type | Best For | Key Features | Skill Level |
|---|---|---|---|
| Mobile Apps | Quick, on-the-go projects and social media posts. | Trendy templates, filters, easy sharing, convenience. | Beginner |
| Online Collage Makers | Beginners and those wanting a balance of features and ease. | Large template libraries, drag-and-drop interfaces, no installation needed. | Beginner to Intermediate |
| Desktop Software | Professionals or anyone wanting maximum creative control and print quality. | Layer editing, advanced tools, high-resolution export, full customization. | Intermediate to Advanced |
Each tool has its place, so think about what you need for this specific project. A quick Instagram post has very different needs than a high-quality blanket design.
Key Features to Look For
No matter which tool you lean towards, a few key features can make your creative experience much better. Look for platforms that offer a variety of customizable templates, as they provide a fantastic starting point that you can make your own. The ability to adjust spacing, borders, and backgrounds is also crucial for giving your collage a polished, professional look.
A great tool doesn't just give you templates; it gives you building blocks. It lets you start with a proven layout and then tweak every element until the design feels uniquely yours.
Finally, always think about the final output. If you're planning to create a beautiful Custom Photo Blanket, make sure the tool allows you to export your collage as a high-resolution file. This is the single most important factor for ensuring your cherished photos look sharp and vibrant when printed, turning your digital design into a cozy, lasting memory.
Designing Your Collage Layout and Style
This is where your vision really comes to life. Think of designing your collage like you're an interior designer for your memories. You’re arranging all these individual pieces to create one harmonious, beautiful space. The goal is to go beyond just a pile of photos and craft a composition that feels balanced, engaging, and tells a great story.
Whether you love a clean, structured grid or something more organic and free-flowing, a few key principles will help you nail the look. The real secret is guiding the viewer’s eye through your story on purpose. A well-designed collage feels effortless, drawing people in to discover each moment one by one.
Establish a Strong Focal Point
Every great design needs an anchor—that one main image that grabs your attention right away. This photo is the star of the show. It should be one of your strongest, clearest, and most emotionally powerful images. Think of it as the gravitational center of your collage.
Try placing this focal point slightly off-center. Why? Because it creates a more dynamic and interesting layout. When an image is plopped right in the middle, our eyes tend to stop there. But positioning it off-center encourages the eye to travel around the entire design, exploring all the other great photos you’ve included. From there, you can build outwards, arranging your other photos to support and complement this central piece.
Balance Your Composition with Spacing
The empty space between your photos, often called "negative space," is just as important as the photos themselves. Good spacing is what keeps your design from feeling cluttered and chaotic. It gives each image a little room to breathe, letting the viewer appreciate individual moments before moving on.
Think of spacing as the punctuation in your visual story. Without it, everything becomes one long, run-on sentence. A little bit of space creates pauses, adds emphasis, and makes the entire narrative easier to follow.
Most collage tools let you adjust the margins or "gutters" between your photos. Here’s a good rule of thumb: keep the gap between all your images consistent. This simple trick instantly gives your layout a clean, professional, and polished look.
Harmonize Colors and Tones
Now, let's look at the colors across your entire canvas. You don't need every photo to match perfectly, but you do want to aim for an overall sense of balance. If you have several very bright, colorful photos, try scattering them evenly instead of clumping them all in one corner. This prevents one area from visually overpowering the rest of the design.
Here are a few easy techniques to create some color harmony:
- Alternate Tones: Place a darker or moodier photo next to a brighter, lighter one. This creates a really pleasing contrast that keeps things interesting.
- Use a Unifying Filter: Applying a subtle, consistent filter across all your images can tie them together beautifully and give your collage a cohesive feel.
- Mix in Black and White: Don’t be afraid to convert a few photos to black and white! This can break up the color in a really cool way and add a timeless, artistic touch to your collage.
These design principles are essential when learning how to create a photo collage that looks fantastic. A thoughtfully designed layout is especially important if you're planning to turn your creation into a gift, like a Custom Photo Blanket, where the final design becomes a cozy work of art.
Finalizing Your Collage for Flawless Printing
You've designed the perfect collage, and now it's time for the final handoff—getting your digital file ready for printing. This step is like the final proofread before publishing a book; a quick technical check ensures all your creative work translates beautifully from your screen to a stunning physical keepsake.
Taking a moment to optimize your file is the secret to avoiding common hiccups like blurry images or colors that look "off" compared to what you saw on your monitor. It’s especially important for bigger items like blankets, where even tiny imperfections can become more noticeable.
Prepping Your Digital Masterpiece
Think of your exported collage file as the blueprint for your blanket. For a Custom Photo Blanket, this blueprint needs to be rock-solid to support a beautiful, large-format print. The two most important things to get right are resolution and file format.
- Resolution (DPI): Aim for a resolution of 300 DPI (dots per inch). This is the gold standard for high-quality printing and will make sure every photo looks crisp and sharp.
- File Format: Save your collage as a high-quality JPEG or PNG. These are the most common formats and do a great job of keeping all the detail without creating massive, clunky files.
Your digital file's quality is the foundation of your print. A low-resolution file is like building a house on shaky ground—the final structure simply won't be as strong or impressive.
A Quick Pre-Export Checklist
Before you hit that final "save" button, run through this simple checklist. It’s a quick way to catch any last-minute issues and feel confident in your design. For a deeper dive into the technical side, you can check out our complete photo requirements for printing to make sure every detail is perfect.
This final check is a crucial part of learning how to create a photo collage that transitions beautifully from screen to fabric. The demand for physical photo products keeps climbing as people look for tangible ways to hold onto their memories. In fact, the photobook and albums market alone is expected to grow to USD 4.95 billion by 2032, which just goes to show how much people value high-quality keepsakes. You can read the full research on the growth of the photo album market on Fortune Business Insights.
One last thing—don't forget about colors. What you see on a backlit screen can look a little different in print. While most modern tools handle this automatically, it helps to know that color profiles (like sRGB) exist to standardize colors. This ensures that the vibrant reds and deep blues in your collage are reproduced accurately, creating a gift that looks just as you imagined.
Turning Your Collage Into a Custom Photo Blanket
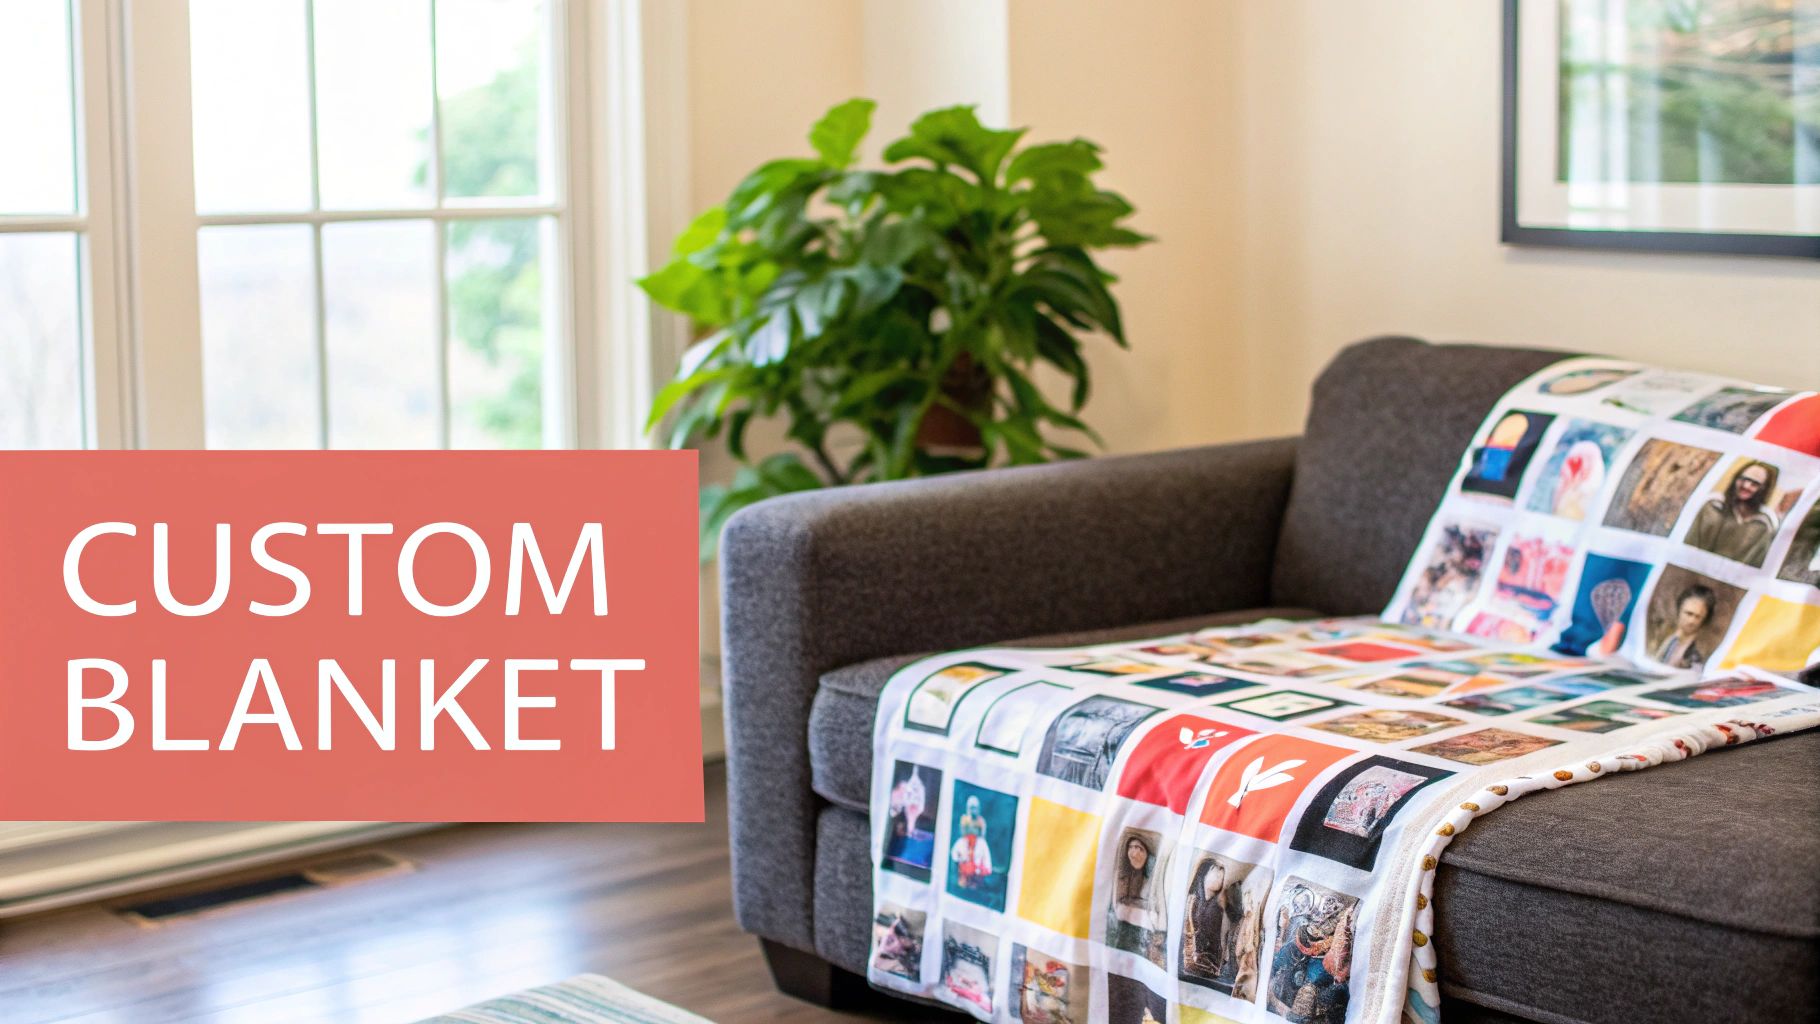
This is where the magic happens. After all the work of choosing photos and arranging them into the perfect design, you finally get to turn your digital masterpiece into something you can actually hold. A custom photo blanket is an especially heartfelt way to bring your collage to life.
Unlike a simple print hanging on a wall, a blanket transforms your collection of memories into a cozy, functional piece of art. It’s a gift that stands out, perfect for Mother's Day, anniversaries, or the holiday season. The best part? The process is surprisingly simple—all you need is that high-quality collage file you just exported.
Bringing Your Design to Life
First things first, you'll upload your finished collage file to the blanket provider's website. From there, you get to choose the perfect material and size to match your vision, whether it's a soft throw for the couch or a larger queen-sized option for the bed.
Most services have a preview tool that shows you exactly how your design will look on the final product. This step is key. It's your chance to confirm that every image is placed just right and that the whole composition looks as good on fabric as it did on your screen. If you're looking for more detailed tips on this part of the process, our guide on how to design a blanket with photos is a great place to start.
A photo blanket does more than just display your memories; it wraps you in them. It transforms your digital creation into a source of physical warmth and comfort, making it one of the most personal gifts you can give.
While digital photo frames are popular—the market was valued at approximately USD 53.64 billion in 2025—they can't replicate the tactile experience of a custom blanket. Physical keepsakes just have a unique and lasting appeal. A blanket turns your collage into a true heirloom, offering a kind of comfort a screen simply can’t. You can read about the digital frame market on MordorIntelligence.com to learn more about how people are displaying their photos.
Your Top Photo Collage Questions, Answered
As you start piecing together your photo collage, a few questions almost always pop up. Getting these details right is what separates a pretty good design from a truly stunning one that’s ready for printing. Let’s tackle the big ones so you can create your collage with total confidence.
One of the most important things to get right from the start is photo quality. The resolution of your images is the foundation for a crisp, beautiful print—and it’s a non-negotiable for a larger canvas like a blanket.
What Resolution Should My Photos Be?
For the absolute best results, you’ll want every photo in your collage to be at least 300 DPI (dots per inch). Always start with the original, full-size image files straight from your camera or phone. It's a good idea to steer clear of photos saved from social media or text messages, since they get heavily compressed and can look blurry when printed.
Another common puzzle is figuring out just how many photos to include. It’s all about finding that sweet spot.
A great collage finds a balance where every photo has a chance to shine, contributing to the overall story without creating visual clutter.
How Many Photos Work Best in a Collage?
While there's no single magic number, a range of 10 to 25 photos usually hits the mark. This gives each image enough space to be seen clearly without overcrowding the design. Using fewer photos makes each one a standout feature, while more images create a rich, mosaic-like effect. The key is always to prioritize quality over quantity.
Finally, a lot of creators wonder if they can get creative by mixing different photo styles.
Can I Mix Black and White Photos with Color?
Absolutely! Combining black and white with color photos can create a really striking, artistic look. For a balanced design, you could try grouping the black and white images in one area or distributing them evenly throughout the layout. A great pro tip is to use your design tool to apply a single, unifying filter to all your photos—this gives the entire collage a cohesive, professional feel.
Ready to turn that beautiful new collage into a cozy keepsake? At That Blanket Co, we make it easy to transform your digital design into a stunning, high-quality custom photo blanket.