


How to Improve Low Resolution Photos for Stunning Custom Blankets
That slightly fuzzy photo on your phone holds a cherished holiday memory, but you're worried it won't look quite right when it’s printed big. The good news? You can absolutely rescue those precious moments with a few simple tools. The real secret to improving low-resolution photos is using modern AI upscalers to intelligently add detail, then making careful adjustments to brightness, noise, and sharpness.
Turning a Blurry Memory Into a Cozy Keepsake
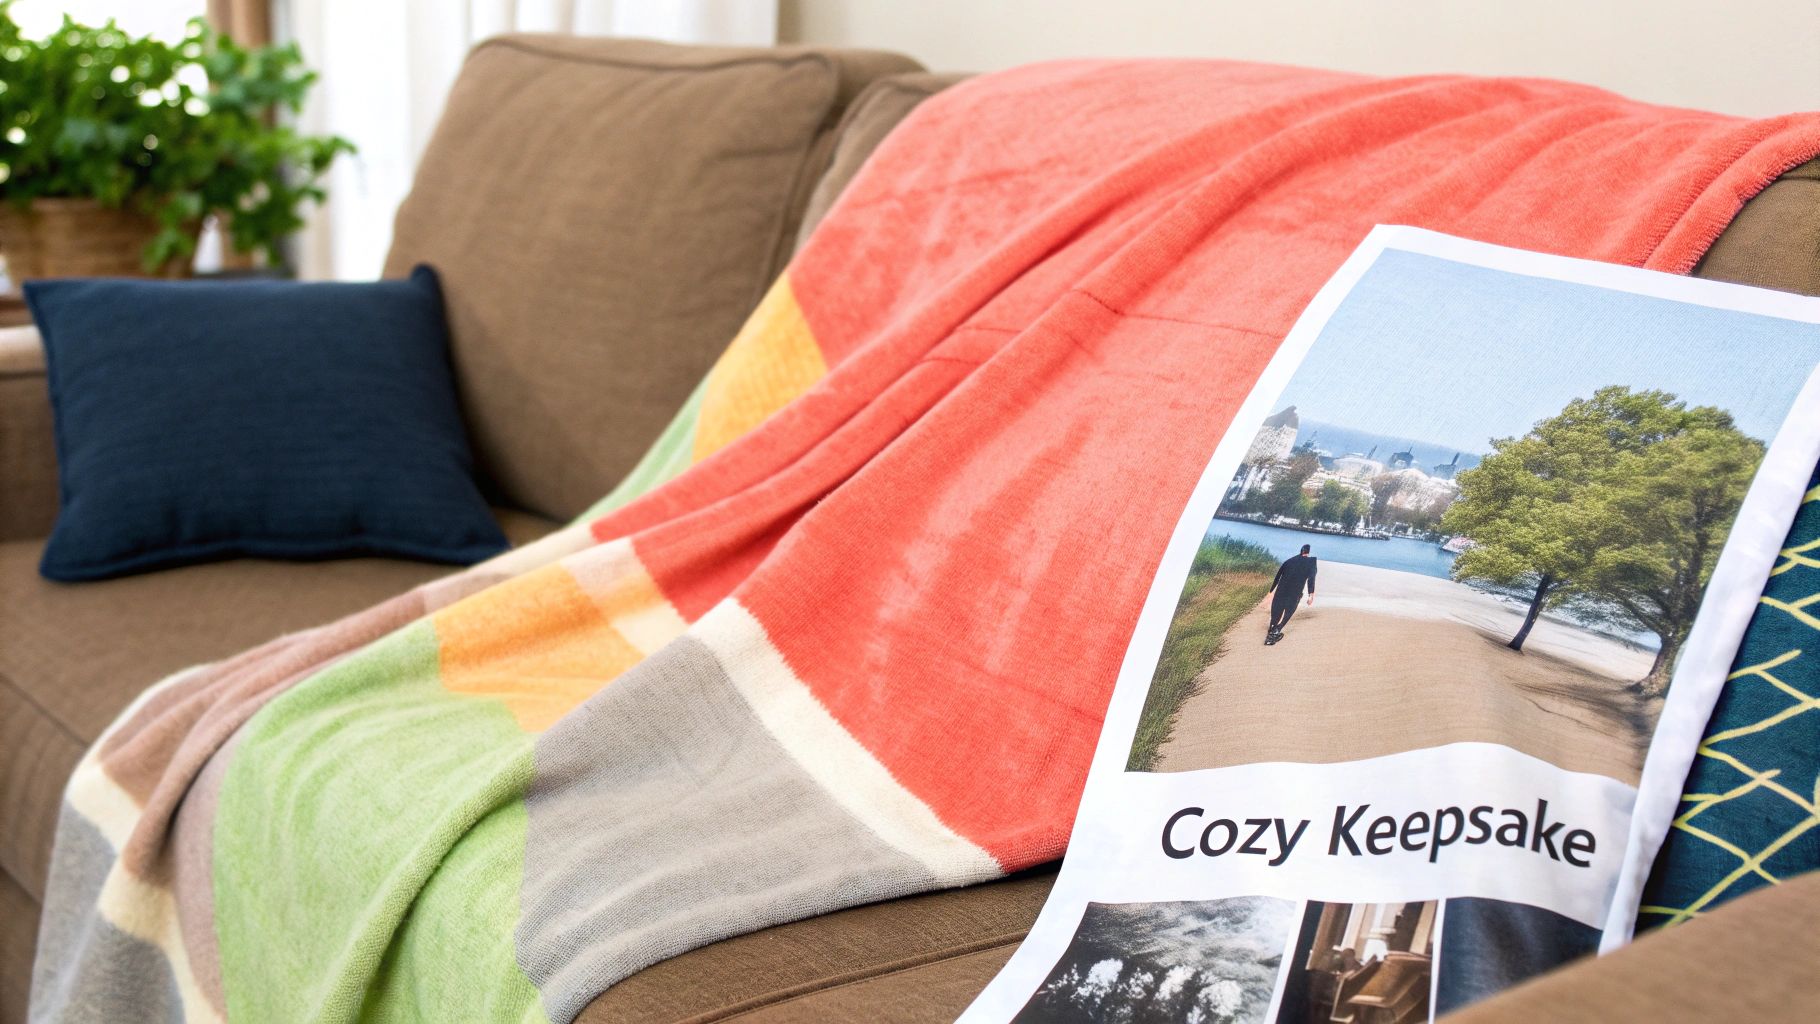
We’ve all got that one photo we absolutely love—maybe it’s from a holiday season years ago, with everyone laughing around the tree. It might seem just a little too soft or blurry for a big project, and that’s a common worry, especially when you’re creating something as personal as a custom photo blanket for a holiday gift. You want the final keepsake to capture the warmth of the memory, not the technical flaws of the image.
Think of this guide as your practical roadmap for turning those beloved but imperfect pictures into sharp, vibrant images ready for printing. We’re focusing specifically on techniques that work wonders for fabric, making sure your final blanket from That Blanket Co looks just as clear and heartwarming as the memory itself.
Why Old Photos Need New Tricks
So many of our most treasured photos come from older smartphones or were saved from social media, which almost always compresses them and lowers their quality. This is where today’s technology really makes a difference.
Over the last decade, fixing low-resolution photos has gone from basic sharpening filters to incredibly powerful AI upscaling. For families turning a 5-MP phone photo from 2014 into a sprawling 60×80-inch blanket, upscaling it by 200–300% with AI can be the difference between a blocky, pixelated mess and an image that looks comfortably “photo-like” from a normal sofa distance of 5–7 feet.
The goal isn’t just to make the picture bigger; it's to intelligently recreate the details that were lost. This process helps ensure that when your image is printed on a soft, textured surface, the key elements—like smiling faces—remain crisp and clear.
To help you get started, here's a quick rundown of the steps we'll be covering. Think of it as your cheat sheet for bringing that favorite photo back to life.
Quick Guide to Improving Your Photo for a Blanket
| Action Step | Why It Matters for Your Blanket | Simple Tool to Use |
|---|---|---|
| Upscale with AI | Intelligently adds pixels to prevent a blocky or blurry print on large fabric surfaces. | An online AI image upscaler |
| Reduce Noise | Smooths out the grainy or "sandy" texture common in old or low-light photos. | Built-in filter in most photo editors |
| Adjust Brightness | Ensures faces and key details are visible and don't get lost on the soft blanket material. | Your phone's native photo editor |
| Apply Smart Sharpening | Defines edges and brings out details in hair and eyes without looking artificial. | The "Sharpen" or "Clarity" tool |
| Crop Thoughtfully | Removes distracting backgrounds and centers the focus on the most important part of the memory. | Any basic cropping tool |
Following these steps will give your cherished but flawed photo the best possible chance of becoming a beautiful, high-quality keepsake you can wrap yourself in.
More Than Just a Blanket
Ultimately, improving a photo is about honoring the moment it represents. A clear, well-edited image ensures your personalized gift conveys the love and care you poured into making it. This is especially true during the holiday season, when a custom photo blanket becomes more than just a cozy throw—it becomes a treasured story they can wrap themselves in.
And if a photo is just too blurry to rescue for a large print? Don't give up on the memory! A wonderfully creative alternative is to turn your image into an embroidery pattern. This path still celebrates the moment in a beautiful, tactile form, proving that even our imperfect photos can create perfect keepsakes.
Assessing Your Photo's True Potential
Before you can fix a low-resolution photo, you have to play detective for a minute. A quick check can save you a ton of time and help set realistic expectations for your final custom blanket. The first clue is always the photo's origin—where did it come from?
A picture saved from a social media site, a screenshot, or one sent via text message is almost always a compressed, lower-quality copy. These services shrink images to save data and speed things up. The original, higher-quality version might still be on the phone that took it or sitting in an old email. Honestly, taking a moment to track down that source file is the single best first step you can take.
Look at the Photo's Properties
Once you’re pretty sure you have the best version available, it’s time to check its vital stats. You don't need any fancy software for this; your computer’s built-in tools are perfect.
- On Windows: Right-click the file, select "Properties," and head to the "Details" tab.
- On Mac: Right-click (or Control-click) the file and choose "Get Info."
You're looking for the image's dimensions, measured in pixels (e.g., 1800 x 1200 pixels). This number tells you the actual size and detail you have to work with. Bigger is always better, but don't sweat it if the numbers seem small—that's what the next steps are for. You can also glance at the file size; a file measured in kilobytes (KB) is a red flag for low quality compared to one measured in megabytes (MB).
A common pitfall is accidentally working on a tiny thumbnail preview instead of the actual photo. Always make sure you’ve opened the full-sized image before you start making any edits.
Setting Realistic Expectations for Your Blanket
Understanding your starting point helps you decide which path to take. A photo that's really small or blurry probably won't work for a full-size blanket on its own, but it could be perfect as part of a collage design. On the other hand, a moderately sized image has excellent potential to be upscaled and sharpened into a stunning centerpiece.
For a deeper dive into the numbers, our guide on the best photo resolution for printing offers specific benchmarks for different blanket sizes. This initial checkup ensures you're on the right track to creating a beautiful, clear keepsake that does your memory justice—which is especially important for those heartfelt holiday gifts.
Your Practical Workflow for Enhancing Photos
Okay, you've sized up your photo's potential. Now for the fun part: bringing it back to life. This is where you get to see that cherished memory transform from something a bit fuzzy into a beautiful, print-ready image. I’ve refined this process specifically to get the best results when printing on soft fabric, like one of our custom photo blankets.
The most powerful first move in this workflow is using Artificial Intelligence. I'm not kidding—modern AI upscalers are absolute game-changers for anyone trying to improve a low-resolution photo. Instead of just stretching the pixels you already have (which is what creates that blocky, jagged look), these tools intelligently create new pixels to fill in the gaps. They essentially recreate lost detail in a way that looks remarkably natural.
If you really want to see what's possible and take your photo from blurry to brilliant, you can explore a comprehensive guide to AI image upscale for flawless visuals. Getting this first step right is the most critical part of the entire rescue mission.
Fine-Tuning for Fabric
After you’ve upscaled the image, the next phase is all about making small, targeted adjustments. This isn't the time for heavy filters. It’s about making subtle tweaks that guarantee your picture looks its absolute best when it’s printed.
-
Brightness and Contrast: Fabric naturally soaks up some light, which can make photos appear darker than they do on a backlit screen. Gently bumping up the brightness and adding just a touch of contrast will make your subjects pop and prevent important details from getting lost in the soft texture of the blanket.
-
Noise Reduction: Ever notice that grainy, almost sandy texture in your photo, especially in the darker spots? That’s digital "noise." A light touch with a noise reduction filter can smooth this out beautifully, creating a much cleaner look that’s especially important for faces and skin tones. Just don’t overdo it, or the image can start to look waxy and artificial.
-
Smart Sharpening: The final touch is applying a tiny bit of sharpening. This helps define the edges of key elements—like eyes, smiles, and the outlines of people—making the whole image feel more crisp and focused. Think of it as adding just enough definition to counteract the natural softness of the blanket fibers.
The flowchart below gives you a simple visual for assessing your photo's potential before you even start these editing steps. It all starts with the source.
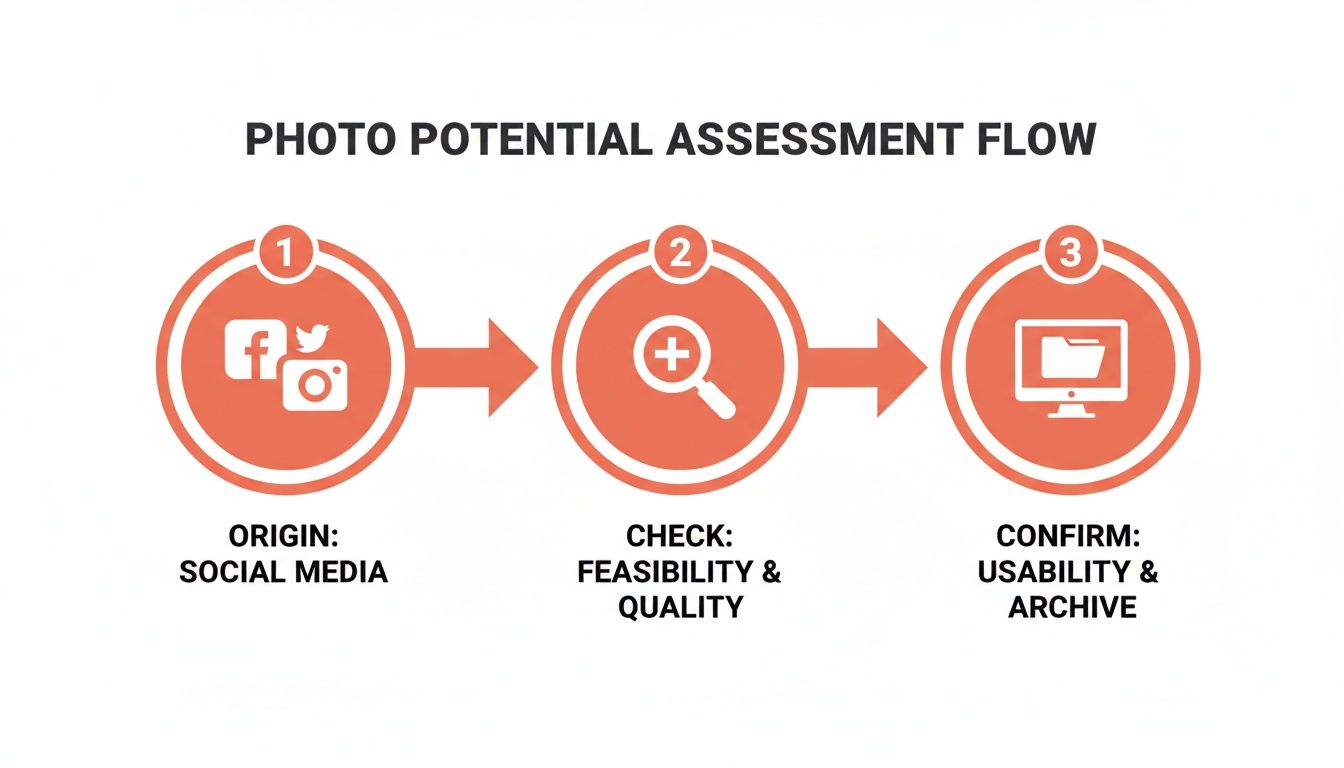
As you can see, the whole process emphasizes starting with the best possible version of your image to give you the best possible chance at a great result.
A quick pro-tip: The goal here is a natural-looking result. You want the final photo to look like a better version of the original, not something that feels obviously edited or fake.
Each of these steps works together to prepare your image for its new life as a cozy keepsake. By taking a little time to enhance your photo, you're making sure that the final custom photo blanket you create will be a holiday gift that looks every bit as wonderful as the memory it holds.
Creative Ways to Use Imperfect Photos
Sometimes, no matter how much editing magic you work, a photo is just too small or blurry to look good stretched across an entire blanket. But that doesn’t mean you have to abandon the memory. Instead of forcing a single, low-quality image to do all the heavy lifting, it's time to get creative with your design.
This is where you can shift your mindset from photo correction to smart, beautiful design. The goal is no longer just about figuring out how to improve low resolution photos—it's about showcasing them in a way that makes their technical flaws almost irrelevant. These design-first approaches ensure even an imperfect photo can become a cherished part of a gorgeous keepsake from That Blanket Co.
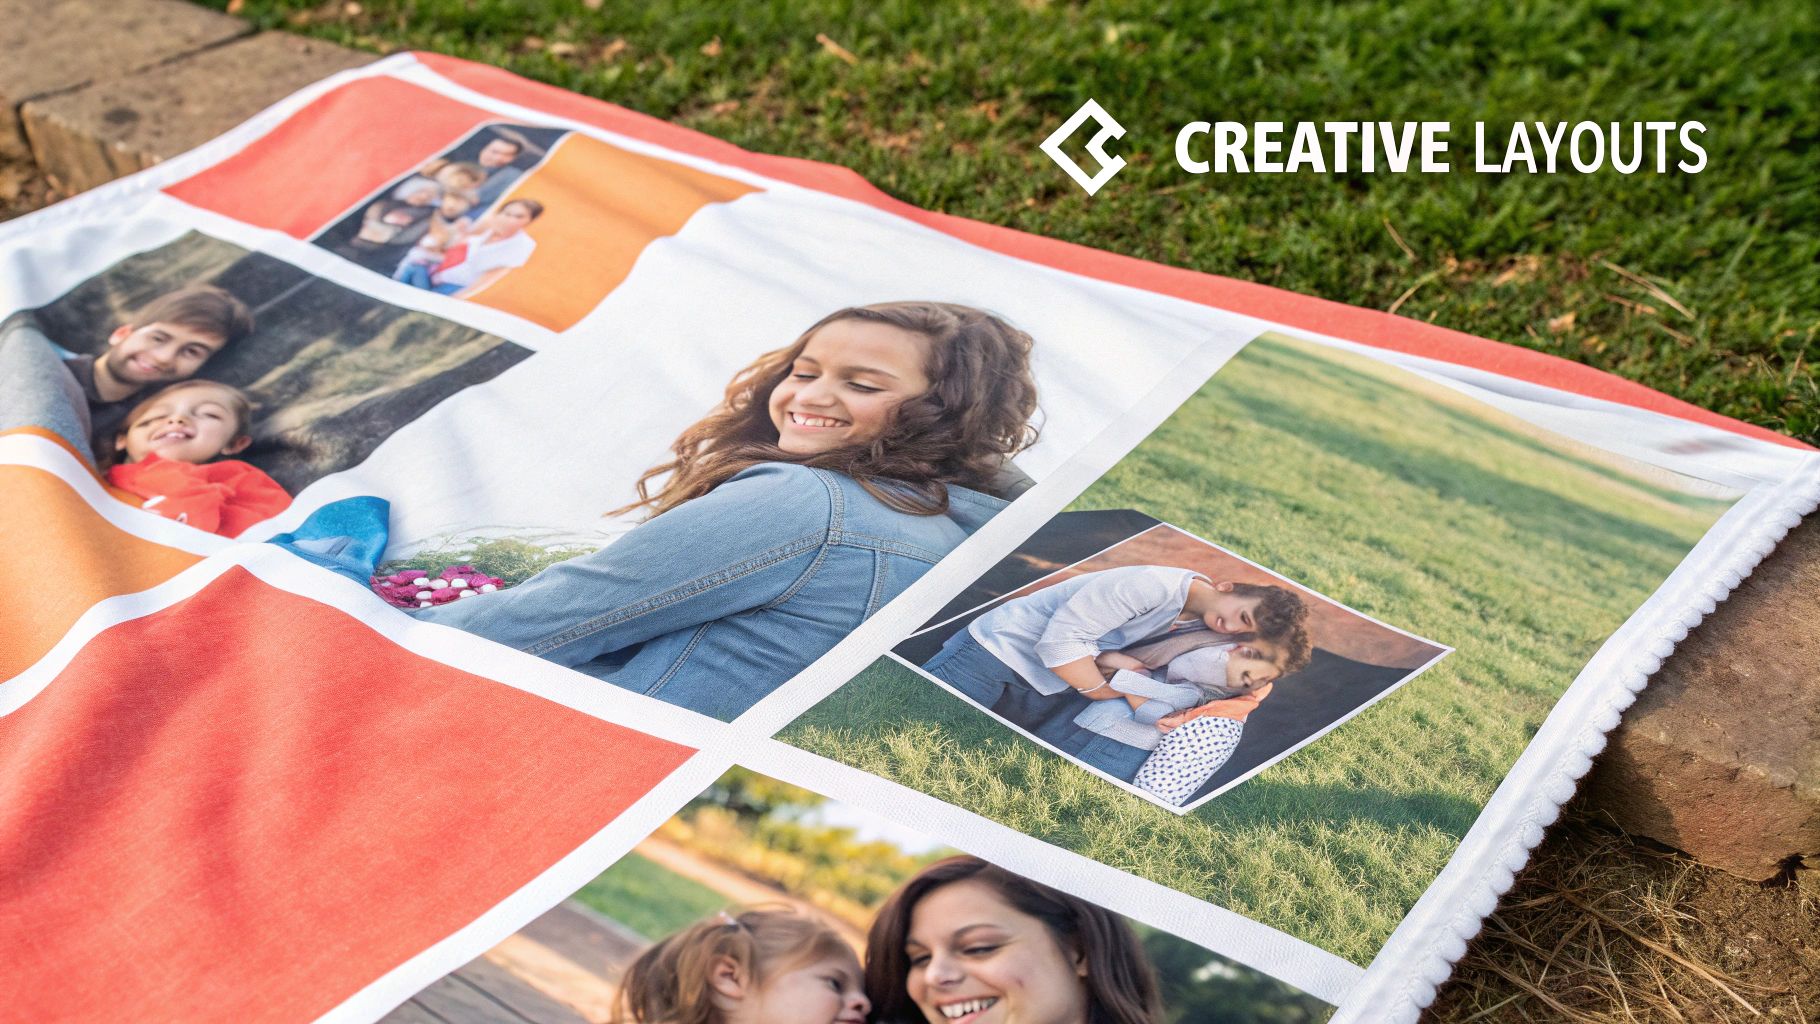
Embrace the Power of a Collage
One of the best solutions for a beloved but fuzzy photo is to let it join a team. A collage-style custom photo blanket allows your lower-quality image to sit beautifully alongside other, sharper pictures. When it’s surrounded by clearer photos, the slightly softer one feels intentional and artistic, contributing to the overall story without having to carry the whole show.
This approach is perfect for telling a broader story, like a collection of holiday moments through the years or milestones from a child's first year. For a step-by-step walkthrough, check out our guide on how to create a photo collage that turns multiple memories into one cohesive design.
By placing your less-than-perfect photo among several high-quality ones, you draw the eye to the overall collection of moments. The brain perceives it as part of a whole, making individual image flaws much less noticeable.
Focus on the Most Meaningful Detail
Another fantastic option is to zoom in. Instead of trying to use the entire blurry photo, crop in on the most important part—a smiling face, a pair of holding hands, or even a beloved pet's funny expression. This smaller, cropped section will naturally have a higher effective resolution.
You can then use this smaller, clearer piece as an accent within a larger design. It could be one element in a collage or a sweet little picture on a blanket that also features a name or a special date. By zeroing in on the heart of the image, you preserve the emotion without the distraction of a fuzzy background.
Frame It With Text and Graphics
Sometimes, all an imperfect photo needs is a little creative framing. Adding a decorative border, a meaningful quote, or an important date can artfully draw the eye and complement the image itself.
- Add a Name or Date: Personalizing the blanket with text makes the photo feel like just one component of a complete, thoughtful design.
- Use Decorative Elements: Simple frames or subtle graphic overlays can help blend the soft edges of a photo right into the blanket's overall design.
These simple additions create a new focal point, making the photo feel like part of a deliberate artistic layout. It's a simple design trick that helps the memory shine through, proving that even a technically flawed photo can help create the perfect, heartfelt holiday gift.
Saving and Uploading for a Perfect Print
You’ve guided your photo through its revival journey, carefully sharpening details and boosting colors. Now for the final, critical handoff: saving and exporting it correctly. This last quality check is what ensures all your hard work actually translates into a beautiful custom blanket.
The first choice you'll make is the file format. For almost any photograph, a JPEG (or JPG) is your best bet. It hits the sweet spot between high quality and a file size that’s easy to upload. The trick is to save it at the highest quality setting possible—look for an option labeled 100% or 12. This keeps compression to a minimum, preserving every crisp detail you worked so hard to bring back.
What if your design includes sharp graphics or text, like a collage with names and dates? That's where a PNG file really shines. PNGs use "lossless" compression, which is a fancy way of saying they don't throw away any data to shrink the file. The file size will be bigger, but it's totally worth it to keep those clean lines perfectly sharp.
Locking in the Detail for Print
The settings you pick in this final export step have a direct impact on how your blanket will look and feel. After spending time rescuing a low-resolution photo, the last thing you want is to reintroduce blurriness or weird artifacts during the save process. Think of it like carefully packaging a delicate gift you just finished wrapping.
Saving your enhanced image with the right settings is just as important as the edits themselves. A high-quality JPEG or PNG acts as a perfect blueprint for our printers, ensuring the final blanket is as clear and vibrant as the image on your screen.
It’s amazing how far enhancement tools have come. They can now work directly on ultra-high-definition images, including those at 4K resolution—a benchmark for stunning print quality. For big items like our Custom Photo Blankets, this is huge. It means high-res edits can scale up beautifully, keeping faces and text sharp even on a large canvas. You can even read the full research about UHD image enhancement to see how it's changing the game for print.
Your Final Upload Checklist
Before you hit that upload button on our site, just run through this quick mental checklist. It’s the best way to make sure your photo is ready for its big moment.
- File Format: Did you save it as a high-quality JPEG or a lossless PNG?
- Quality Setting: Double-check that you exported at the maximum quality level.
- File Name: Give it a clear name like "Grandma_Holiday_Blanket_Final.jpg" so you don’t accidentally upload an older version.
Nailing these simple steps guarantees that our printers get the absolute best version of your photo. If you want to dive deeper into the specs, you can always review our complete photo requirements and guidelines. This final step is what makes all your effort pay off in a stunning keepsake you'll love.
Answering Your Top Photo Quality Questions
Even with a solid plan, a few questions always pop up. That’s completely normal! When you're putting your heart into creating a special gift like a Custom Photo Blanket, you want to be sure every detail is just right.
Let's clear up some of the most common questions we get about photo quality. Getting these details ironed out gives you the confidence to turn that cherished memory into the perfect personalized present.
What’s the Minimum Resolution You Recommend for a Blanket?
While our website has a built-in warning for photos that are critically low-res, a good rule of thumb is to aim for at least 1500 pixels on the longest side. That's a great starting point for our smaller throw blankets.
If you’re designing a larger twin or queen size, you’ll want to shoot for 3000 pixels or more to get that crisp, gallery-quality look.
But don't panic if your photo falls a bit short. The AI upscaling tools we talked about can work wonders on images that are just below these marks. The best test is always your own eye—if the picture looks fuzzy or blocky on your computer screen at its actual size, it'll probably look that way on the blanket. For those extra small, precious photos, our collage designs are a fantastic solution.
Can You guys Enhance the Photo for Me?
Our design tool is pretty smart and will flag an image if it’s too small to print well. While we don't offer a manual, one-on-one photo editing service, this entire guide is designed to hand you the exact tools and steps our pros would use to fix it themselves.
Our printing process does include some automatic enhancements to make images look their best on fabric, but this works best on photos that are already good quality. For a photo that's truly low-resolution, taking the time to edit it beforehand using the workflow we've laid out is the best way to guarantee you’ll be thrilled with your final blanket.
The most impactful photo improvements happen before you upload. Spending a few minutes to upscale and adjust your image is the single most effective thing you can do for a stunning result.
Will a Photo from My Smartphone Work?
Absolutely! In fact, most photos taken on any modern smartphone from the last 5-7 years are more than high-enough quality for a gorgeous custom photo blanket.
The issues we usually see don't come from the phone's camera itself. They come from older pictures or—and this is the big one—images that were saved from social media or sent through a text message.
Apps and text messaging services heavily compress images to save data, which strips away a ton of precious detail. To avoid this trap, always upload the original file directly from your phone's camera roll, not a version that's been passed through another app. This ensures you're starting with the best quality possible.
How Do I Know If My Photo Is Too Dark to Print Well?
This is a great question. Fabric doesn't have a backlight like your phone or computer screen, so images almost always print a little darker than they appear digitally.
Here’s a simple trick to check your photo: view it on your computer with the screen brightness turned down to about 75%.
If you start losing important details in the shadows at that brightness level, the photo will likely print too dark on the soft blanket material. This is where those brightness and shadow adjustment tools we covered earlier become your best friend. Gently lifting the shadows can reveal those hidden details without washing out the entire image, leading to a much richer and more vibrant keepsake.
Ready to turn your beautifully enhanced photos into a holiday gift they'll treasure forever? At That Blanket Co, we make it easy to create a one-of-a-kind custom photo blanket with gallery-quality printing and ultra-soft, machine-washable fabric. Start designing your perfect holiday gift today!