


How to print picture on blanket: The ultimate guide
Ready to turn a favorite photo into something you can wrap up in? It’s surprisingly simple. All you need to do is upload a high-quality digital picture to a custom blanket printer, pick your size and fabric, and use their online tools to get the layout just right.
In no time, you can transform a cherished digital memory into a tangible, cozy keepsake. This is why Custom Photo Blankets have become such popular and heartfelt gifts for holidays and special occasions.
Turn Cherished Memories Into Cozy Keepsakes
Imagine wrapping yourself up in a favorite memory. That's the unique magic you unlock when you print a picture on a blanket, and this guide will walk you through transforming that simple digital photo into a warm, story-filled keepsake.
Custom Photo Blankets are more than just a piece of decor; they're tangible connections to moments that matter. This is exactly why they have become go-to gifts for so many important occasions.
Why Photo Blankets Make Perfect Gifts
During the holiday season, from November through December, a blanket featuring a family portrait or a candid moment becomes an incredibly personal Christmas present. It's a wonderful way to give the gift of warmth and cherished memories.
These items capture emotion in a way few other gifts can. They are perfect for:
- Anniversaries: Commemorate that special day with a snapshot from the wedding.
- Birthdays: Celebrate a milestone with a collection of favorite photos from over the years.
- Holidays: Bring the family together with a group picture that warms the whole house.
- Just Because: Show someone you care with a surprise that’s both thoughtful and practical.
The demand for personalized comfort is absolutely booming. Recent data shows the U.S. blanket market hit $3.44 billion and is projected to climb to $4.77 billion by 2032. This trend really highlights how much we all value gifts that are both personal and genuinely useful. You can discover more insights about these market trends here.
A Simple Path to a Cherished Keepsake
Don't worry, creating a custom photo blanket is a straightforward and even fun process. We'll get into how to select the perfect image, what to look for in fabric quality, and how to use simple online tools to design a layout you love.
My goal here is to make sure your final product is something you'll treasure—a vibrant, high-quality blanket that feels every bit as good as it looks.
Choosing a Blanket-Worthy Photo
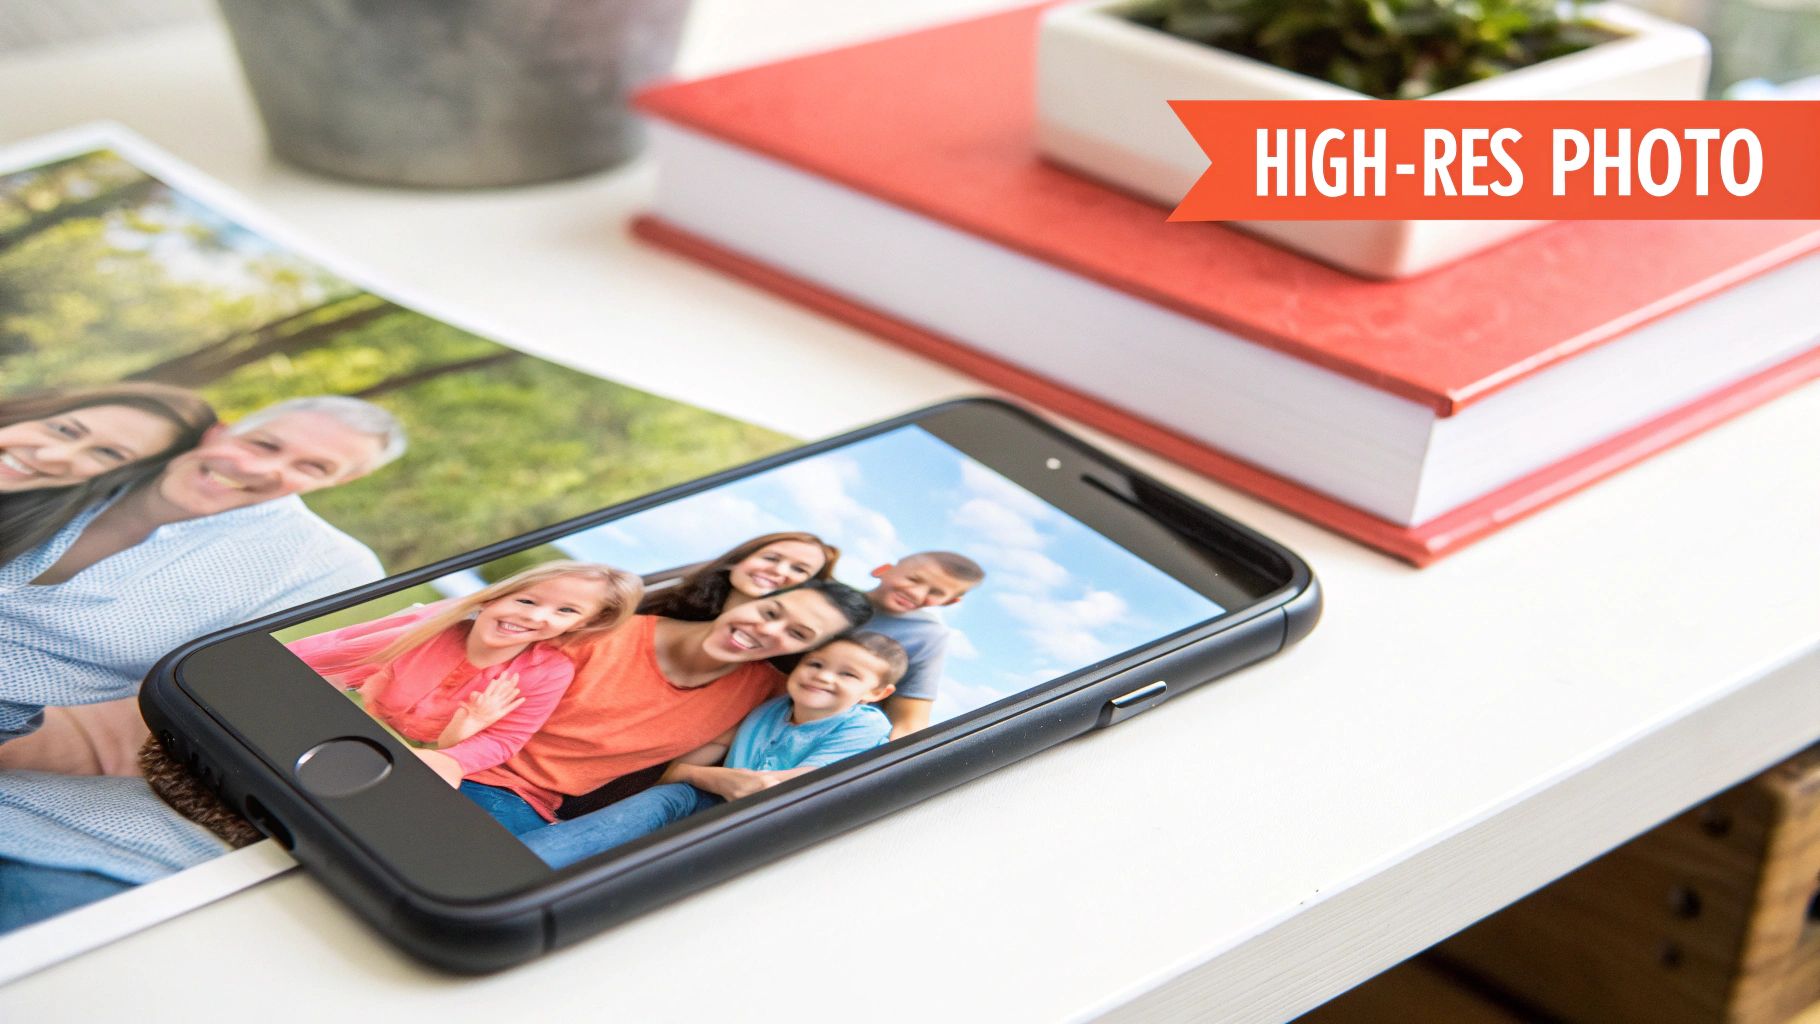
Let's be honest—not every photo is destined to become a beautiful blanket. You probably have thousands of pictures on your phone, but picking the right one is the single most important step when you decide to print a picture on a blanket. Moving past a "nice" photo to one with great technical and artistic quality is what separates a stunning keepsake from a blurry, disappointing mess.
Think of it like this: the image on your phone screen is just a tiny preview. When you blow it up to the size of a throw blanket, every little imperfection—low light, a hint of blur, or a busy background—gets magnified. That’s why starting with a technically solid photo is an absolute must.
Prioritize Clarity and Brightness
The best photos for blankets are almost always bright, clear, and shot in good lighting. Natural light is your best friend here. A family portrait taken outdoors on a slightly overcast day, for instance, will have soft, even lighting that captures crisp details without harsh shadows. That’s the kind of image that translates beautifully onto fabric.
On the other hand, that cozy indoor shot from a dimly lit birthday party might feel sentimental, but it often lacks the sharpness needed for large-format printing. Cameras struggle in low light, creating "digital noise" (that grainy look) and motion blur that become glaringly obvious on a big surface.
Pro Tip: Before you upload anything, zoom in on the most important parts of your photo, like the faces. If they look fuzzy or pixelated on your screen, that blurriness will only get worse on the final Custom Photo Blankets.
To help you out, here’s a quick checklist I use to vet photos before sending them to print. It’s a simple way to make sure your image has what it takes to look fantastic.
Photo Quality Checklist for a Perfect Print
| Quality Check | What to Look For | Why It Matters |
|---|---|---|
| Sharpness & Focus | Faces, eyes, and key details are crisp and clear. Zoom in to check for blur. | Enlarging a soft photo results in a fuzzy, low-quality print. Sharp focus is non-negotiable. |
| Good Lighting | The photo is bright, with natural, even light. Avoid harsh shadows or dark, grainy shots. | Bright photos print with vibrant, accurate colors. Dark images often look muddy on fabric. |
| High Resolution | The original file is large. Aim for at least 1500 x 2000 pixels. | A higher pixel count means more detail, which prevents pixelation on a large blanket. |
| Simple Background | The background is clean and doesn't distract from the main subject. | A busy background can make the blanket look chaotic and draw attention away from the people or pets. |
| Composition | The main subject is centered with some space around the edges. | The printing process can crop the edges, so keeping important elements centered ensures they won't be cut off. |
This little once-over can save you a lot of guesswork and ensure the final product is something you’ll be proud to display or gift.
Focus on Composition and Subject
A strong, clear focal point is crucial. When someone looks at your blanket, their eyes should land on the main subject right away. A portrait of a pet where their eyes are in sharp focus or a landscape with a distinct mountain peak are perfect examples.
Also, think about the composition. Photos with a bit of "breathing room" or negative space around the subject often work better. This is especially important because the edges of the image can sometimes be cropped or wrapped during the printing process.
- Keep critical elements centered: Position faces, text, or important objects away from the extreme edges of your photo.
- Avoid overly cluttered backgrounds: A busy background can distract from the main subject and make the final blanket look chaotic.
- Check for emotional impact: Choose photos that tell a story or evoke a strong, positive feeling. This is what makes a custom photo blanket a truly cherished gift.
For the holidays, a joyful family photo from a past celebration can capture that perfect festive spirit. Ultimately, the best photo is one that is both technically excellent and emotionally resonant, ensuring your blanket is a treasured keepsake for years to come.
Getting Your Photo Ready: Quality and File Types
To get a picture printed beautifully on a blanket, you first need to wrap your head around a little bit of the techy stuff. It's not as scary as it sounds.
Think of your digital photo as a giant mosaic made up of tiny, colored squares. Those squares are pixels. The more of them you have, the sharper and more detailed your picture will look when it’s printed.
Now, imagine trying to stretch a small photo to fit a massive queen-sized blanket. The printer has to make those little pixel "tiles" much bigger to fill the space. If you didn't start with enough of them, they become huge, blocky, and blurry. That's pixelation, and it's the number one enemy of a gorgeous Custom Photo Blanket.
Decoding Resolution and DPI
So, how do you know if you have enough pixels? That's where resolution comes in. It's just a measure of how many pixels are crammed into your photo.
For printing, we often talk about DPI, which stands for dots per inch. This tells the printer how many tiny ink dots to squeeze into one inch of the blanket fabric. A photo that looks amazing on your phone screen is probably only 72 DPI—perfect for a small screen, but not for a big blanket. For a crisp, clear print, you really want to aim for 150 to 300 DPI.
The goal here is to give the printer enough information to create a smooth, detailed image instead of a fuzzy mess. The absolute best way to do this is to use the original, full-size file straight from your camera or smartphone.
You don't need to be a graphic designer to figure this out. A quick rule of thumb is to just look at the file size. A high-quality photo is usually several megabytes (MB). If you see a file that's only a few hundred kilobytes (KB), it’s almost certainly too small for a large blanket.
For a deeper dive, our guide on the best photo resolution for printing breaks it down even further.
The Best File Formats for Your Blanket
You’ll usually see two main types of photo files: JPEG and PNG. They both get the job done, but it helps to know the difference.
- JPEG (or JPG): This is the format you'll see most often for digital photos. It's fantastic because it compresses images to keep the file sizes from getting out of control. For a photo blanket, a high-quality JPEG is usually the perfect choice.
- PNG: This format is prized for its "lossless" compression, which means it keeps all the original image data without losing any quality. PNGs are also the only one of the two that can have a transparent background, though that’s not something you’d typically need for a full-photo blanket.
If you really want to get into the weeds, this article on understanding image file types like JPEG vs. PNG is a great resource. While it's written for wedding photos, the core principles are exactly the same.
It’s pretty incredible that we can even do this. The global print-on-demand market, which is valued at around $7.67 billion, is what makes it possible to create a single, unique item like a photo blanket so easily. This industry, along with a photo printing market expected to hit $28.2 billion by 2032, relies entirely on people providing high-quality digital files. It’s no surprise that searches for practical features like 'machine washable' have also jumped by 36%—we all want our custom creations to be beautiful and easy to care for.
Designing Your Custom Photo Blanket Layout
Got a fantastic, high-quality photo? Now for the fun part: designing the layout. This is where you get to transform a simple picture into a unique piece of art that tells a story.
The two most popular approaches are the single-image design and the multi-photo collage. Each one offers a totally different way to bring your memories to life.
A single, full-bleed image is a classic for a reason. It’s bold and confident, turning your blanket into a gallery-worthy display. This layout is perfect for powerful portraits, stunning landscapes, or a striking family photo where one moment truly captures it all. The photo becomes the undisputed hero of the design.
Telling a Story with a Collage
A multi-photo collage, on the other hand, lets you weave a much richer story. Instead of relying on one perfect shot, you can showcase a series of moments that, together, feel more complete. This is a fantastic option for celebrating a milestone like a graduation, an anniversary, or a baby's first year.
Imagine creating a Custom Photo Blanket for the holidays. You could combine a photo from last Christmas, a funny summer vacation snapshot, and a recent family portrait. Each image adds another layer to the story, creating a deeply personal and emotional gift that will be treasured during the festive season. For a complete guide on arranging multiple pictures just right, check out our tips on how to create a photo collage.
Adding a Personal Touch with Text
Personalized text can really elevate your design, turning a beautiful blanket into a treasured keepsake. Adding names, important dates, or a short, meaningful quote provides context and adds another layer of sentiment.
Here are a few ideas to get you started:
- For Anniversaries: Simple and sweet, with the couple's names and their wedding date.
- For Holidays: "The Miller Family" or "Merry Christmas 2024" makes a perfect holiday gift.
- For Birthdays: A fun message like "Happy 50th, Dad!" or an inside joke is sure to make them smile.
When it comes to adding text, less is almost always more. Pick a font that’s easy to read and complements the mood of your photo. The key is to place it thoughtfully where it won’t cover up important details—think along a bottom edge or in an open area of the image, like the sky.
Ultimately, the best layout is the one that reflects your personal style and the feeling you want to share. Whether you go for a dramatic single image or a heartfelt collage, these design choices are what make your custom blanket a truly one-of-a-kind gift.
The Printing Process from Upload to Delivery
Ever wonder what happens after you click "order"? That's when the real magic begins. Your photo's journey from a digital file to a cozy keepsake is a fascinating mix of high-tech printing and hands-on care. Let’s pull back the curtain and see exactly how your memories are brought to life.
The process kicks off the second you upload your image. Our online design tools make it simple to position your photo, create a collage, or add a special message. This preview stage is your moment to shine—it's the final check to make sure every name is spelled correctly and every detail is perfect before it heads to production.
From Digital File to Woven Memory
Once you give the final okay, your design is officially in the queue. For creating a vibrant, durable image on a soft blanket, the go-to method is dye-sublimation. This isn’t your average printing process where ink just sits on top of the fabric. It’s much cooler than that.
Dye-sublimation is a chemical process where solid dyes are heated into a gas. This gas then permeates the polyester fibers of the blanket and solidifies, becoming one with the material itself. The result? A stunningly clear and permanent image that won't crack, peel, or fade over time. It’s a pretty amazing technique, and you can learn more about sublimation printing on fabric in our detailed guide.
This handy visual shows just how simple it is to get creative when you decide to print a picture on a blanket.
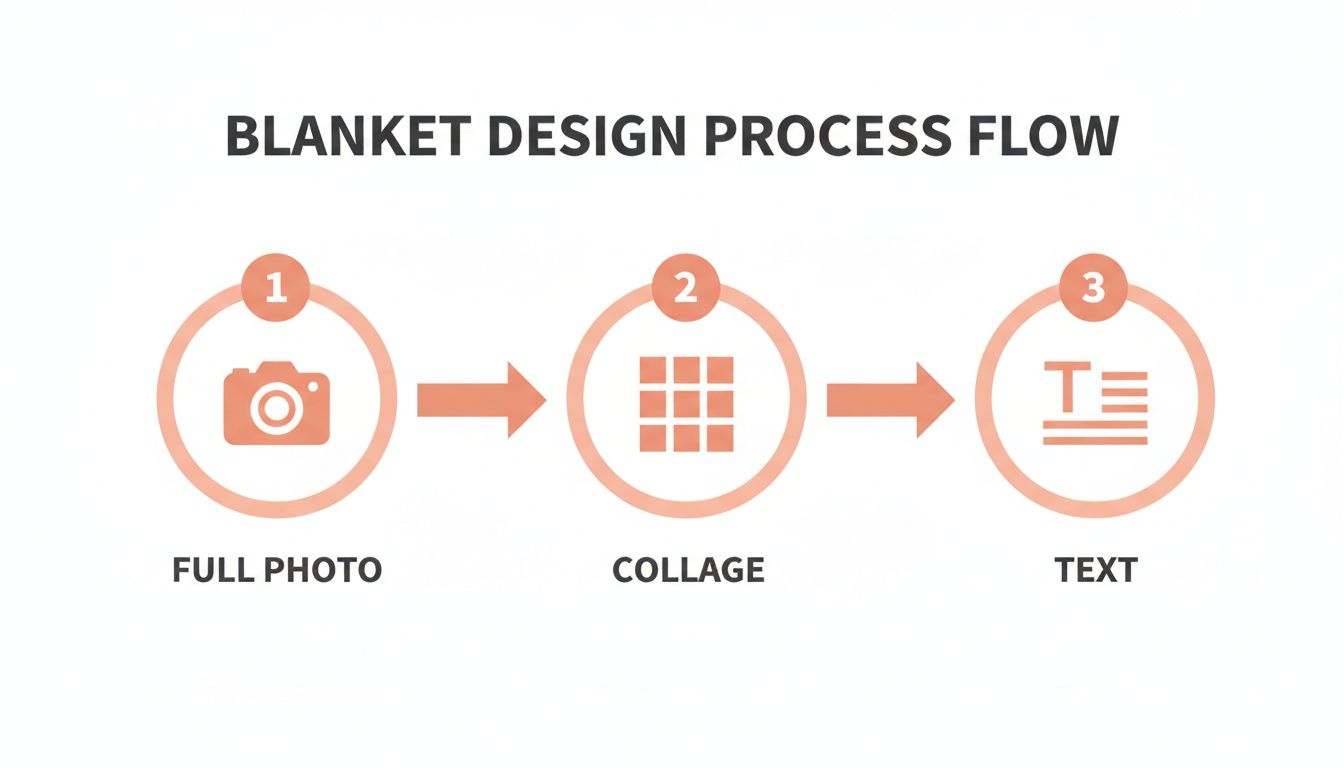
As you can see, whether you're using a single stunning photo, a fun collage, or adding a personal message, the design phase is built for creativity.
The printing process is dialed in for both quality and speed. Industry standards for production are typically just 2-3 business days, and then your blanket is on its way. This efficiency is a lifesaver, especially when you’re ordering a gift for a specific date like the December holidays.
The incredible boom in Custom Photo Blankets is largely fueled by how easy it is to order online. The growth in e-commerce has streamlined the experience, allowing brands to serve thousands of happy customers with quick turnarounds, proving just how much people love personalized gifts.
If you're curious about the fundamentals or want to try a DIY project, learning how to transfer a photo to fabric at home can give you a fun peek into the core principles of the printing process.
How to Care for Your Photo Blanket
Your new Custom Photo Blanket is more than just a cozy throw—it’s a treasured keepsake designed to last. To keep that beautiful printed picture looking vibrant and the fabric feeling incredibly soft for years, a little bit of proper care goes a long way. The good news? It’s surprisingly simple.
When it's time for a wash, think gentle. The best approach is a gentle cycle with cold water. Hot water is the enemy of vibrant colors and delicate fibers, so sticking to a cool wash is the single most important step you can take.
Washing and Drying Best Practices
Always pair that cold water cycle with a mild, phosphate-free detergent. You’ll want to steer clear of harsh chemicals and additives, especially bleach and fabric softeners. Bleach can completely ruin the colors of your printed photo, while fabric softeners leave behind a residue that makes plush fabrics feel less soft over time.
When it comes to drying, you have two great options that protect both the fabric and the image:
- Air Dry: This is the gentlest method by far. Just hang your blanket over a clothesline or drying rack away from direct sunlight, which can cause the colors to fade.
- Tumble Dry on Low: If you prefer using a dryer, make sure to select the lowest heat setting or an air-fluff cycle. High heat can damage the printed image and is tough on soft fabrics.
By following these simple steps, you’re making sure every detail of your cherished memory stays sharp and brilliant. Proper care guarantees your blanket is ready for countless snuggles, preserving its look and feel for the long haul.
With just a little attention, your custom blanket will remain a beautiful and functional part of your home—a cozy reminder of a special moment, ready to be enjoyed for many years to come.
Got Questions About Your Photo Blanket?
When you’re ready to turn a favorite picture into a cozy blanket, a few questions always seem to pop up. Getting the right answers is key, especially if you're creating a heartfelt gift for the holidays and want it to be perfect. We’ve rounded up the most common ones to help you finalize your design with total confidence.
One of the first things people wonder about is the material. What fabric will make my photo look its best?
What Fabric Is Best for Printing Pictures?
For a photo that really pops, you can't go wrong with soft, plush fabrics like fleece and sherpa. Their smooth, tight-knit surfaces are perfect for dye-sublimation printing, which results in incredibly detailed and vibrant images.
These materials aren't just great for looks—they're also super cozy, durable, and machine-washable, so your Custom Photo Blanket will stay beautiful for a long, long time.
Another big one is image quality. Nobody wants a blurry keepsake.
The secret to avoiding a blurry or pixelated blanket is simple: always start with the highest resolution photo you have. That means using the original file from your camera or phone, not a compressed version you grabbed from social media or a screenshot.
Most online design tools will even give you a heads-up with a quality warning if your image resolution is too low for the blanket size you’ve picked. That gives you a chance to swap it for a better photo.
Finally, timing is everything, especially when a special occasion is just around the corner.
How Long Does It Take to Receive a Custom Blanket?
While it can vary a bit, a typical order first goes into a production phase that takes about 2-3 business days. This is when your design is printed, cut, and sewn into a finished blanket.
Shipping time is on top of that and depends on where you are and which shipping option you choose at checkout. If you're ordering for a big day like Christmas, it's always smart to order in advance to leave plenty of time for both production and delivery.
Ready to turn that favorite photo into a warm, cozy memory? At That Blanket Co, we make it incredibly easy to create a stunning, gallery-quality custom blanket that you and your loved ones will cherish for years. Start designing your perfect photo blanket today!